

Until then, you may have to rely on the Photos app provided on your computer to edit videos in Windows 10 or 11. Microsoft has added a specific, more powerful and more practical tool: Clipchamp.
Everyone remembers Windows Movie Maker, the free video editing software that came with older versions of Windows. This made it easy to edit scenes with a variety of modifications. Alas, the tool did not sustain the evolution of the computer and Microsoft did not change it. Publisher simplifies video editing operations in the Photos app included in Windows 10 and 11. A remarkable gesture, but it does not replace real video editing software. For more demanding users, the only thing left to do is turn to tools like DaVinci Resolve, which is free but sophisticated like the Final Cut Pro on macOS or Adobe Premiere, simple, powerful, but paying.
Microsoft finally fixed the situation. The latest Windows update actually brings a new program: Clipchamp. This is not Microsoft software. The publisher repurchased it in September 2021. Previously paid for, these apps are now available on Windows in a fully functional free version with much more advanced and upgraded functionality than Photos Apps provided. . Its interface is clear and allows users, even beginners, to easily find their way to creating short or long videos, slide shows, etc. You can create exclusively cut videos for ads to be aired on YouTube, Instagram, Dictoc or social networks. The tool embeds many non-royalty elements (music, animated backgrounds, stickers or even GIFs) to integrate into montages. Creating quality videos without paying a penny. For those who want more, there are paid subscription plans that cost $ 9, $ 19 or $ 39 per month to enjoy unlimited online storage and more non-royalty items.
Clipchamp is usually part of a set of items installed with the latest Windows update. However, as we have seen, it may be out of use. No need to bother restarting the Windows update. It is also available for download.
How to edit video with Clipchamp on Windows?
Easy to handle, Clipchamp lets you edit a short video with changes, captions and music in minutes.
Type in the menu search box and check if Clipsamp is installed on Windows To get started. Otherwise, download and install the free app.

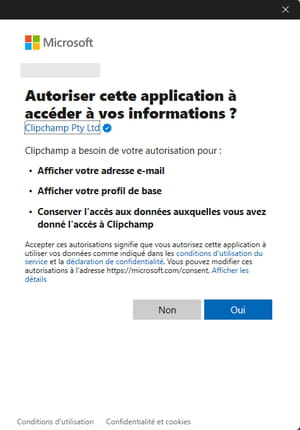
Launch the application. Since it is now Microsoft software, you will need to authorize it to use your Microsoft account connected to the computer. Identify yourself.
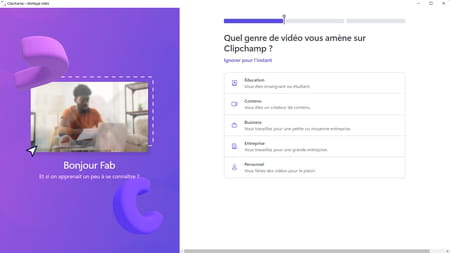
When started, Clipchamp will ask you in what context you want to use the app. Select a domain: Education, Content Creator, Business, Company or Personal.
The application window offers many options instantly. section Get started with the template Slideshow allows you to use pre-made templates to create content for social networking identifiers (banners), YouTube, Instagram, gaming (for example Twitch).
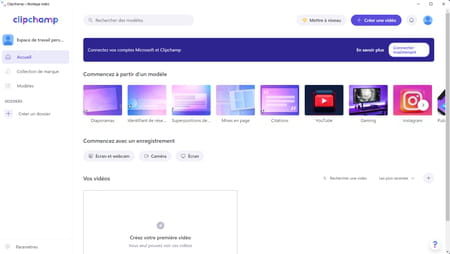
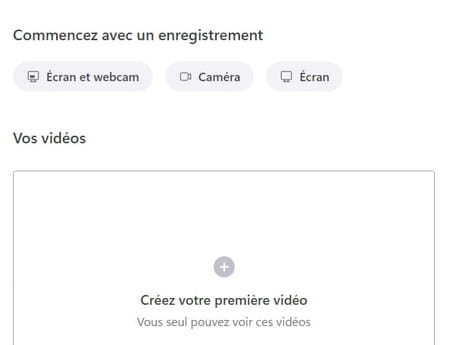
From the section Start with a record, Webcam and screen Apps allow you to record content directly from PC using webcam only or screen only. For example, it is convenient to create a video tutorial.
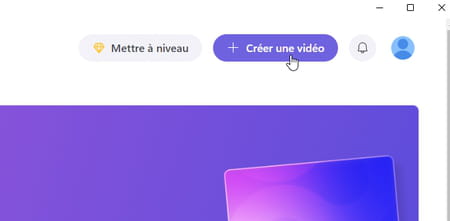
விட்டால் If you do not know what to choose, click the button + Create video At the top right of the window.
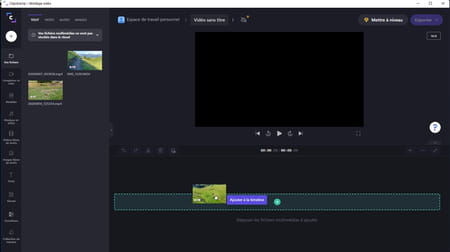
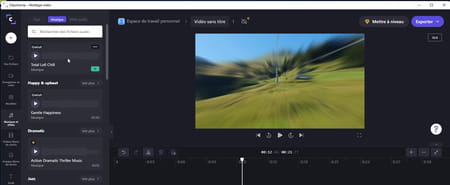
The editing interface will be displayed. In the upper frame, it provides a video preview window. Notice the presence of the button 16: 9 The right side of the frame that allows you to adjust the aspect ratio of the videos to suit the format used. For example, if the pictures were taken vertically with a smartphone, select it 9:16.
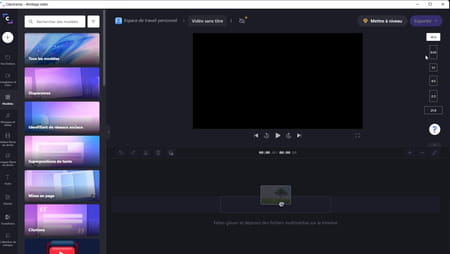
► Below is the timeline, the “timeline” (or “timeline”) that allows editing. The left column brings together all the tools needed for editing and access to non-copyrighted content. Finally, you have a list of pre-defined templates.
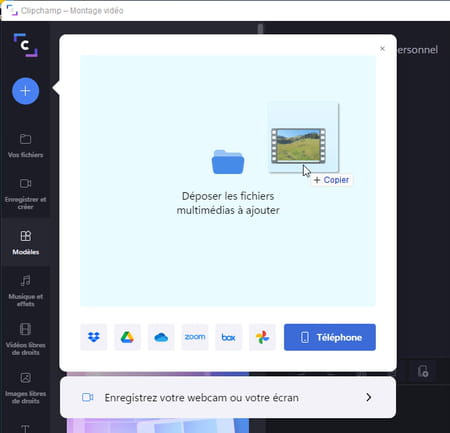
Click the button + Above the left column. A small window opens. It allows you to select your video files from your computer’s storage space, but also from Dropbox, Google Drive, OnDrive, Zoom, Google Photos or even from your smartphone. For example, we are going to draw the files on the system disk. Drag them to the window from File Explorer.
Your video clips will now appear in the tank. To get a preview of the animation, you can hover the mouse pointer over it.
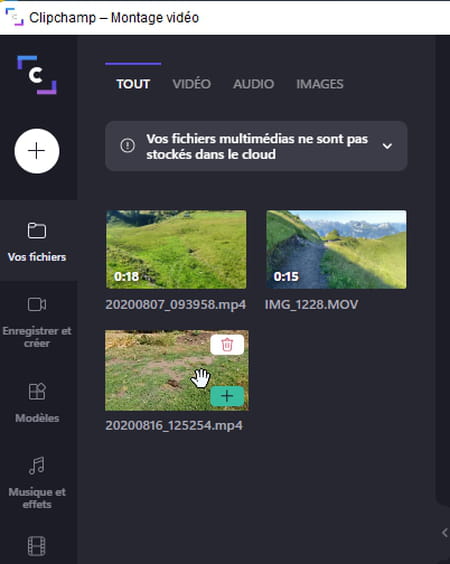
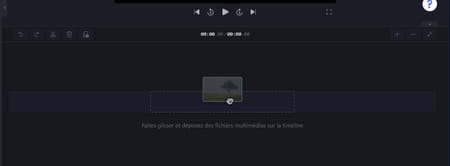
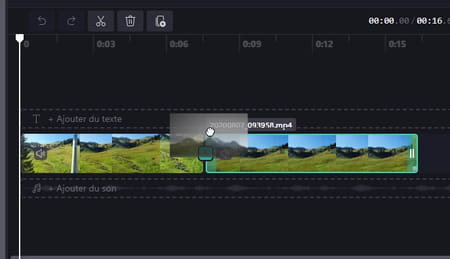
Drag the first clip you want to launch your video into the timeline.
It takes place chronologically. You can now sort it, for example, compress it. To do this, use one Handles Drag it to remove unwanted shots at the beginning and end of the clip.
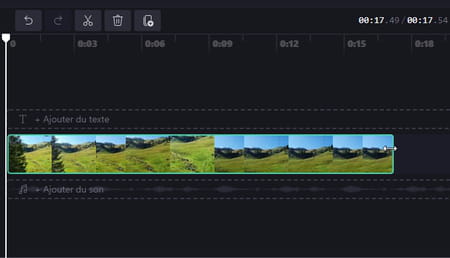
To split a clip in half, move the playlist to the desired location and click Scissors icon Or press the key S. Of the keyboard.

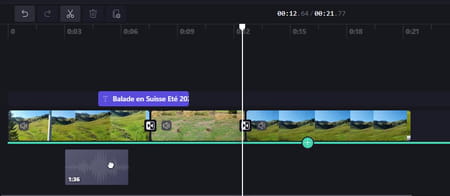
To make a change, click changes Below the left column. A list of effects will be displayed. Hover over the thumbnail with the mouse pointer to preview the rendered effect.
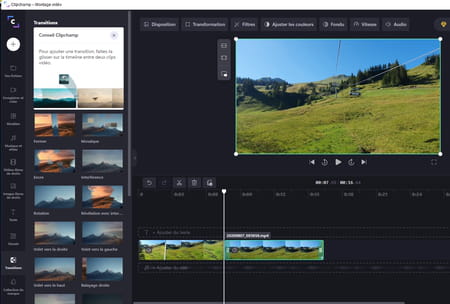
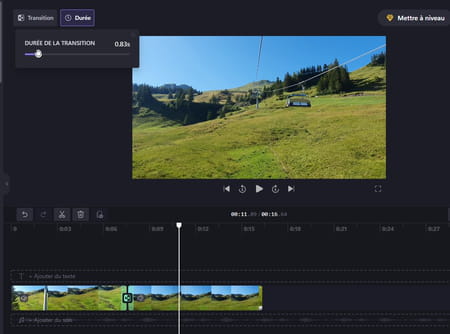
Once you have selected your transition, drag the effect between the two desired clips in the timeline.
You can definitely control the effect and especially its duration. Click its icon in the timeline and then the button Duration In the upper left of the preview window. Then set the effect duration. Click the Play button to see what happens.
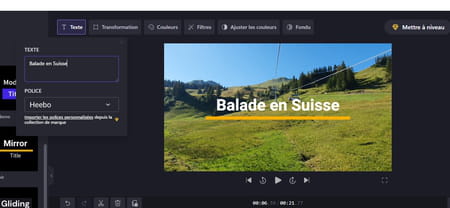
Click the button to add a title or verse Text In the left column. Various topics are offered. To get an idea of the animation they enjoy, you can move the mouse pointer over them.

After selecting your title, drag the thumbnail to where you want it to appear in the timeline (you can move it later).

At the top of the preview window are all the options for changing the title. Click Text Enter the desired text.
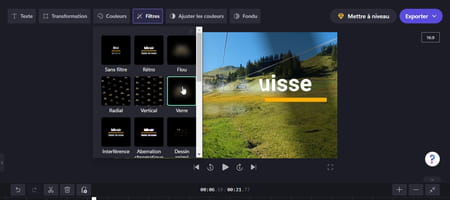
பிற Use other tools to adjust the color of the header, change its color, use filters.
To add music, click the button Music and effects In the left column. Then two tabs are available: Music This allows you to use the music tracks provided by the app and Audio effects, To select sound effects or funny sounds. Click the Play button to hear the proposed sounds. Warning: Elements surrounded by an Diamond shaped icon Will be charged.
You can also choose your own music file. To do this, insert it into the bin just like you would add your video files. You just have to drag it in the timeline where you want it.
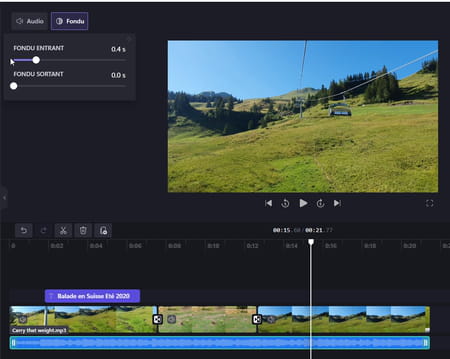
Once the music is set like changes or video files, you can adjust its length (by dragging) Handles At its ends) and add Fat In and Fat Out.
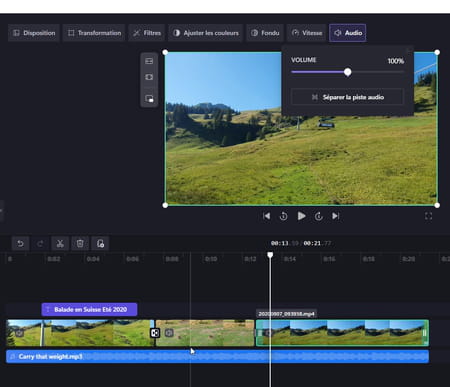
You can keep the sound in the video file on or off or adjust its volume. To cut it, click Speaker icon The timeline is placed in the thumbnail of the clip. To change the volume, click on the relevant video clip in the timeline and then the button Audio Above the preview window.
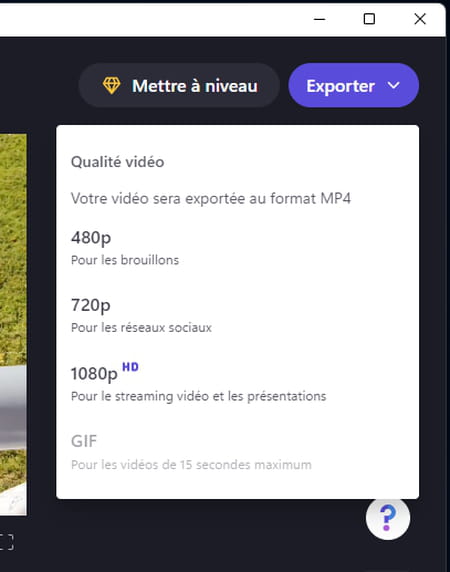
Is the result satisfactory? All that remains is to save your work. Click the button Export At the top right of the window. Choose the desired quality (480p, 720p or 1080p). Note that videos of up to 15 seconds can be converted to GIFs.

Beatrice Ashford is a contributor at Nintendo-power.com, covering a wide range of topics including news, politics, business, technology, sport, entertainment, and lifestyle. She focuses on delivering clear, balanced reporting and useful information that helps readers stay informed about current events and emerging developments. Her work highlights stories that matter to everyday audiences, with an emphasis on accuracy, relevance, and accessible journalism that keeps readers connected to the issues shaping the world around them.