

Officially, Macs with the M1 chip will not be able to run Windows. Due to the configuration of Apple’s ARM processors, the Microsoft operating system can not install or run on computers. However, it is actually possible to run Windows on Macs with the M1 chip. How? Using virtualization software and a specific virtual machine based on the version of Windows adapted to the configuration of ARM chips that Microsoft has been running since 2016.
On its site, Redmond offers a preview of its Windows 11 ARM for download in virtual machine format. The latter you will download and run on the virtualization software. For our handling, we will use UTM Virtual Machine based on QEMU, which is a free and open source solution.
Also watch the video:
1. Download and install UTM Virtual Machine
Get started by downloading the UTM Virtual Machine app on your Mac M1. To install the program on your Mac, open the installer file of UTM.dmg and drag the UTM.app icon into the macOS Applications directory.
Download UTM Virtual Machine for MacOS (Free)

2. Download the Windows 11 ARM image
Now go to the Windows Insider Preview Downloads page to download the virtual machine in .VDHX format of the Windows 11 ARM64 preview. To download this virtual machine, you must have a Microsoft account and sign in using your credentials to access the download page.
Download Windows 11 ARMVM (Free)
3. Download the link drivers
Download the file from your Mac SPICE Guest Tools. This ISO file contains everything you need to run the Internet on your Windows 11 virtual machine.
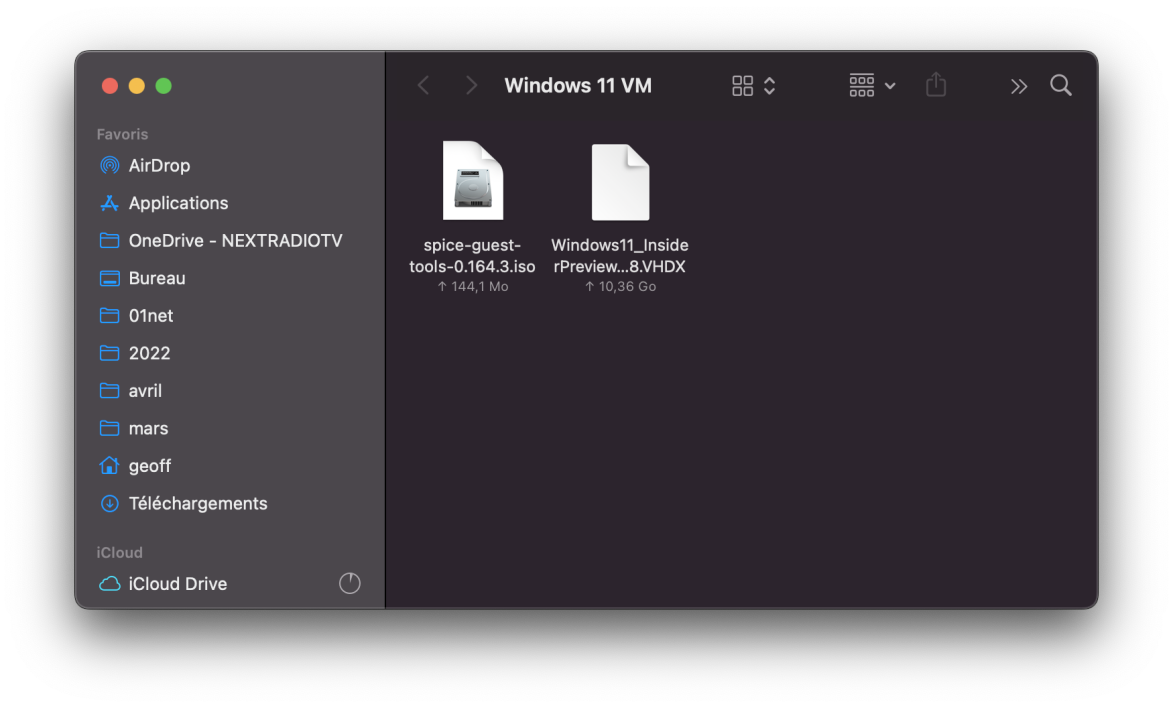
4. Create a dedicated directory
Create a directory on your Mac now Windows 11 You will save the Windows 11 ARM virtual machine file format .VDHX As well as pilots SPICE Guest Tools.
5. Build a virtual machine
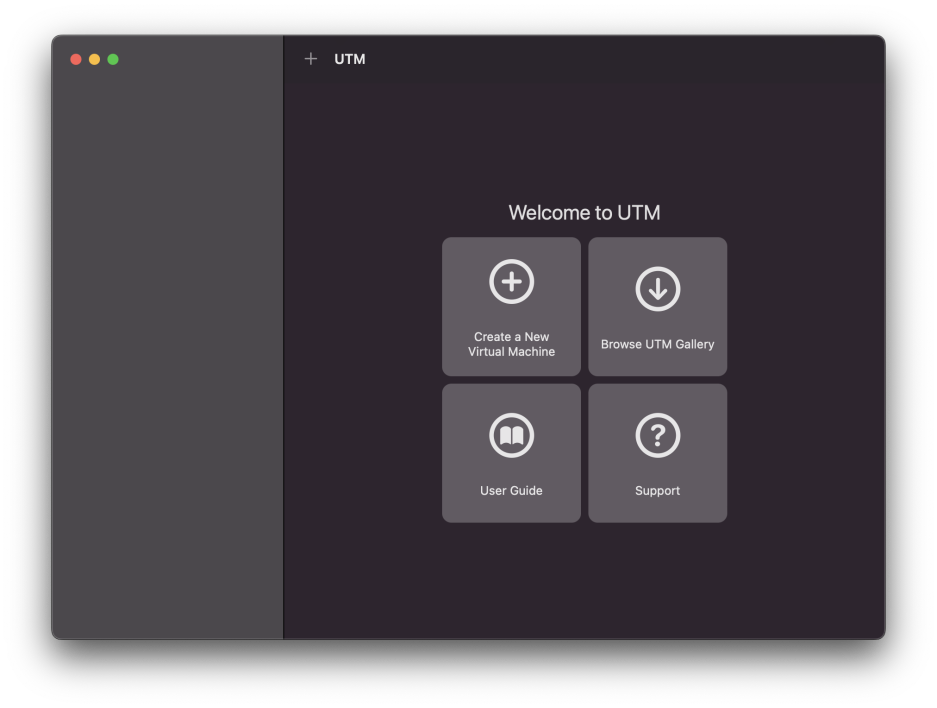
Launch the UTM app on your Mac and then click the button Create a new virtual machine.
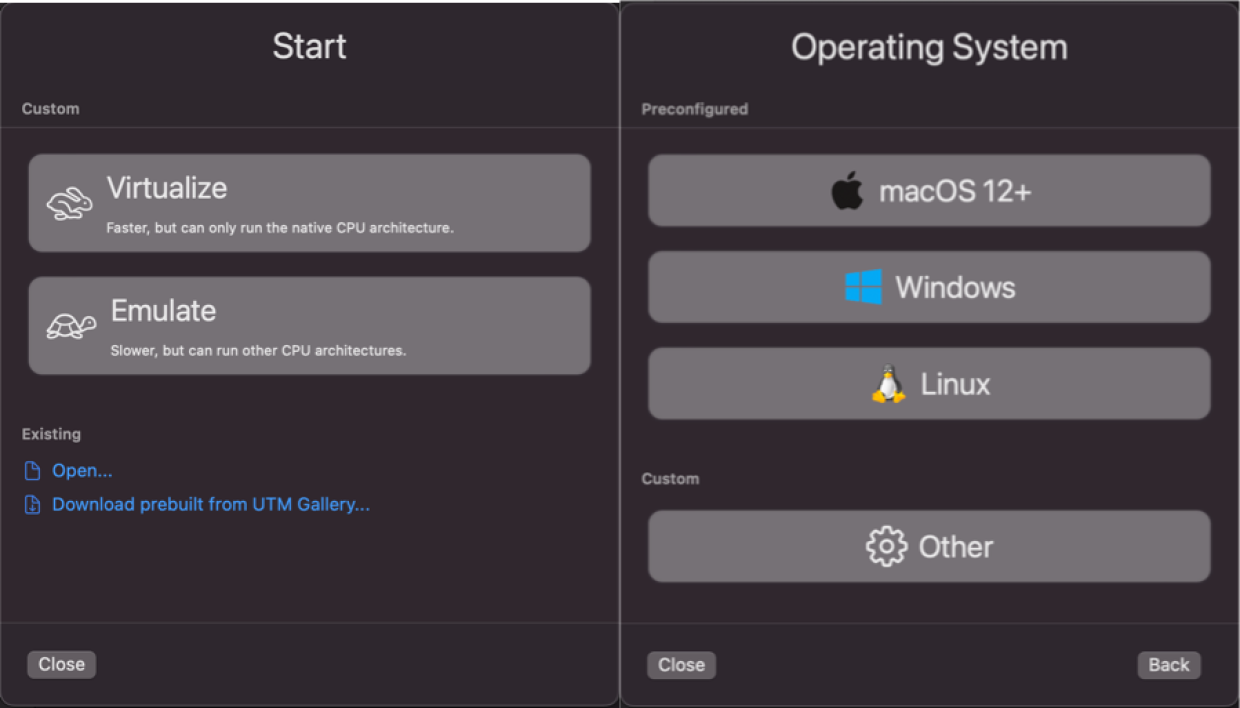
In the window Get started When it appears, click the button Virtualize Then select Windows.
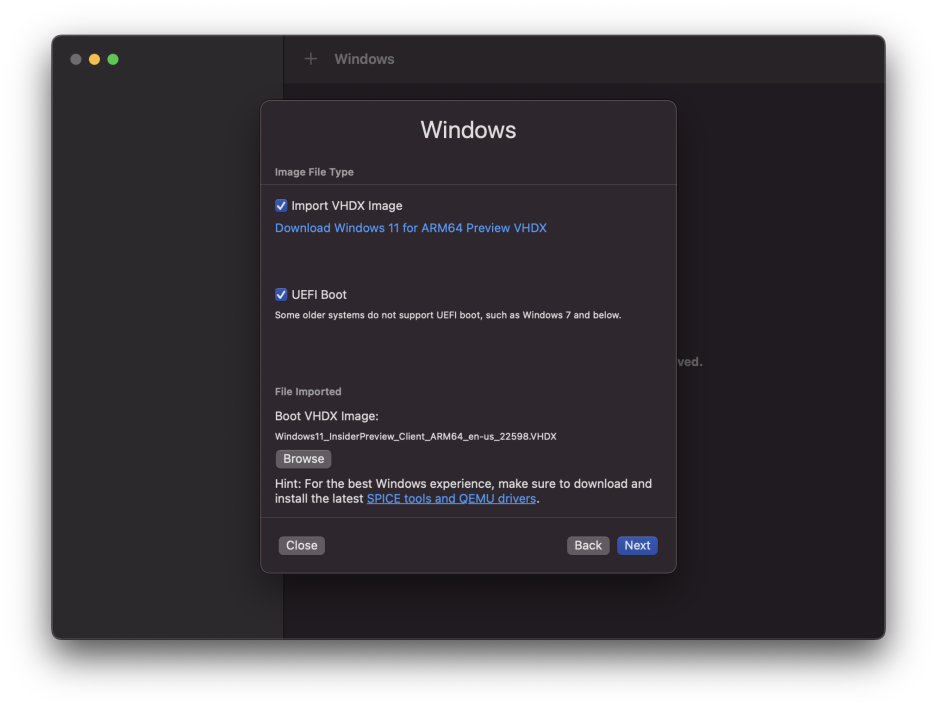
6. Select the Windows disk image
Now you need to select the virtual machine image you want to run.
To do this, click the button Browse And select the file Windows 11 In form .VHDX You have already downloaded the file by browsing the saved directory. Then click the button Next.
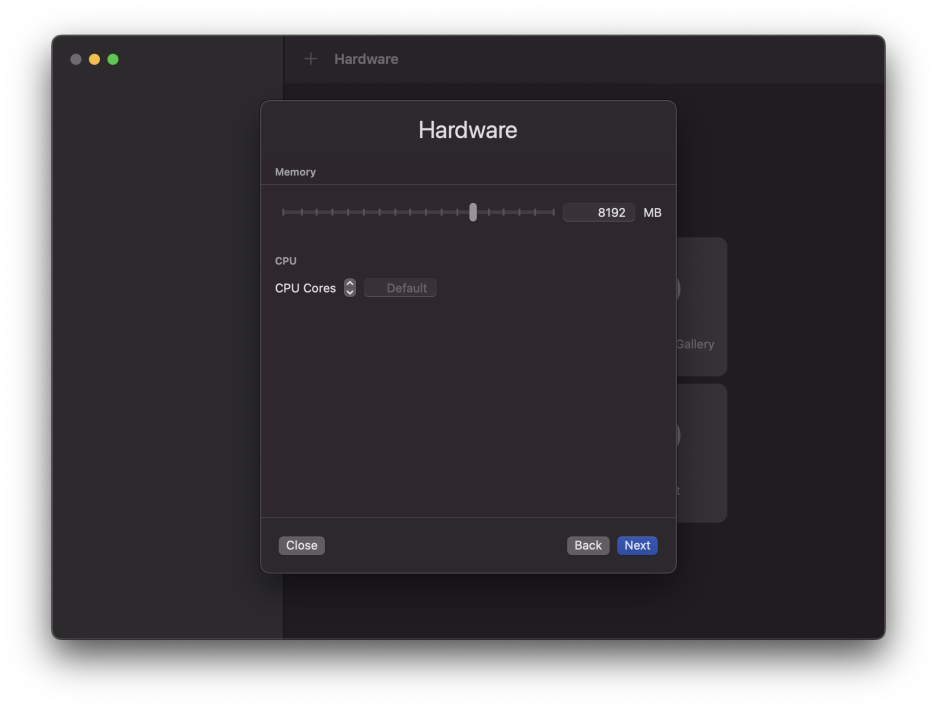
7. Configure the virtual machine
Now you need to select the configuration you want to use on your virtual machine. Adjust the amount of memory allocated (at least 8GB for Windows 11) and the number of CPU cores and click Next To check.
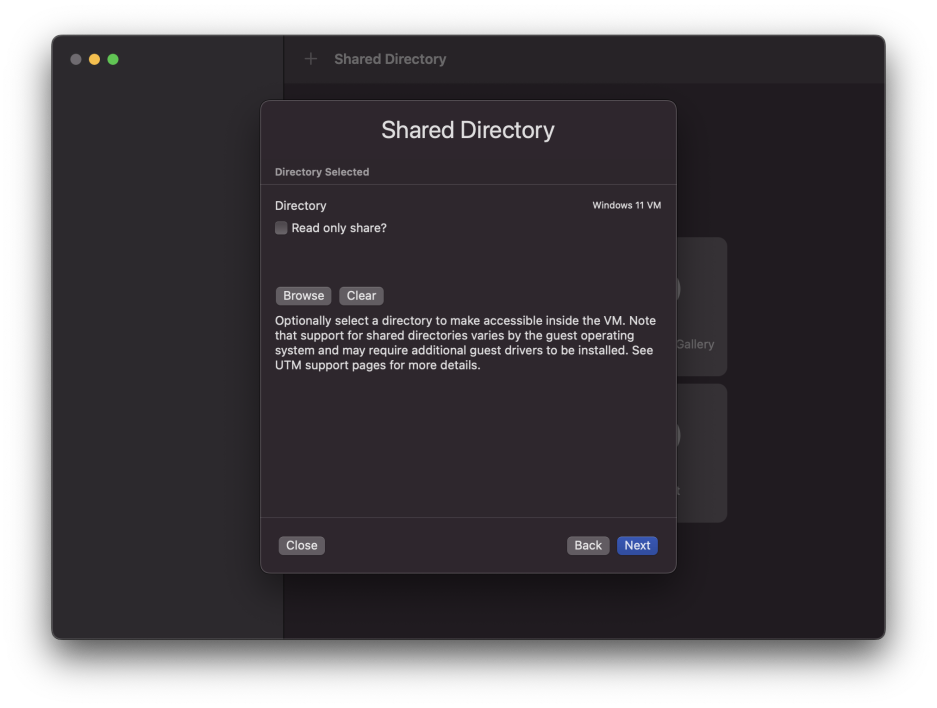
UTM should ask you if you want to share a directory on your Mac with your virtual machine.
Click Browse Select the directory you created earlier, which contains the virtual machine image and drivers SPICE Guest Tools. And then click Next Check your options.
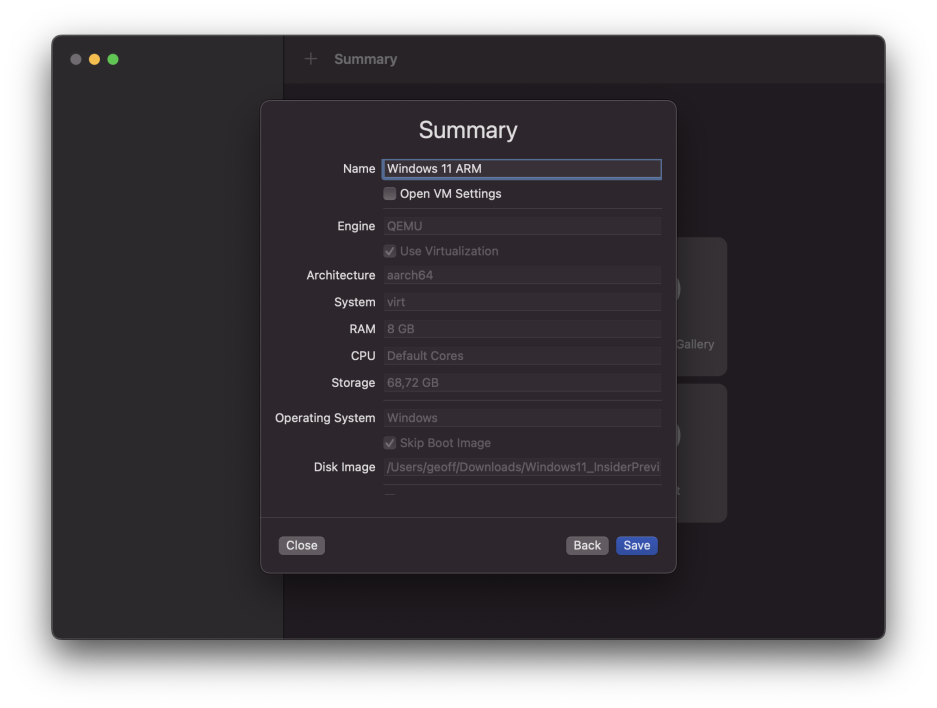
A brief summary of your Virtual Machine (VM) options is provided later. Review and click on each item in your system Save Save your VM settings.
8. Start the VM
In the main UTM window, select your virtual machine in the left column and click on it Reading Will be displayed on the main panel to boot the VM.
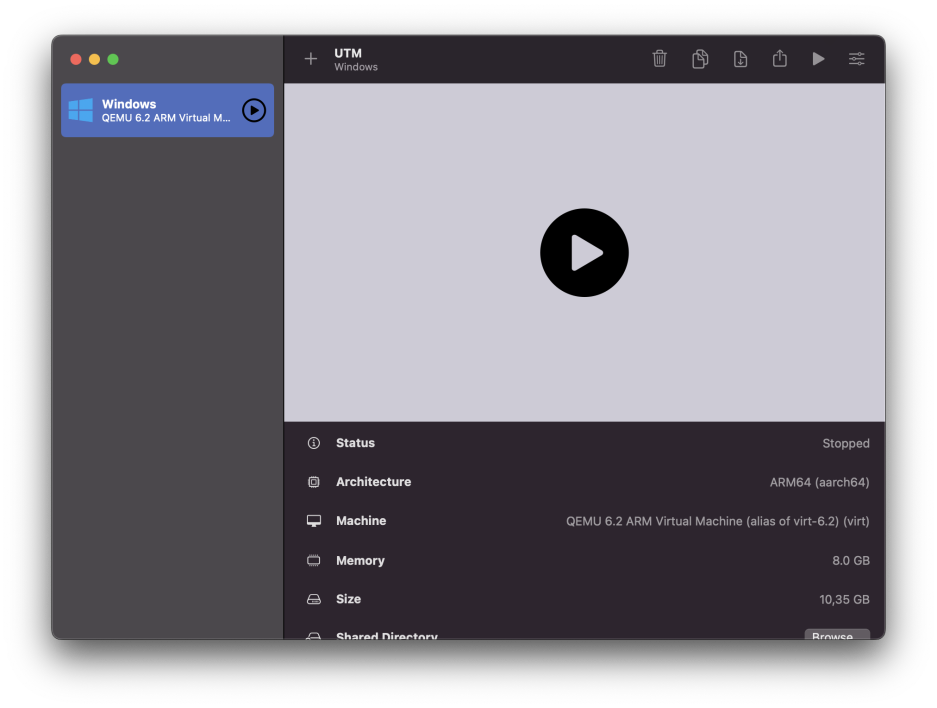
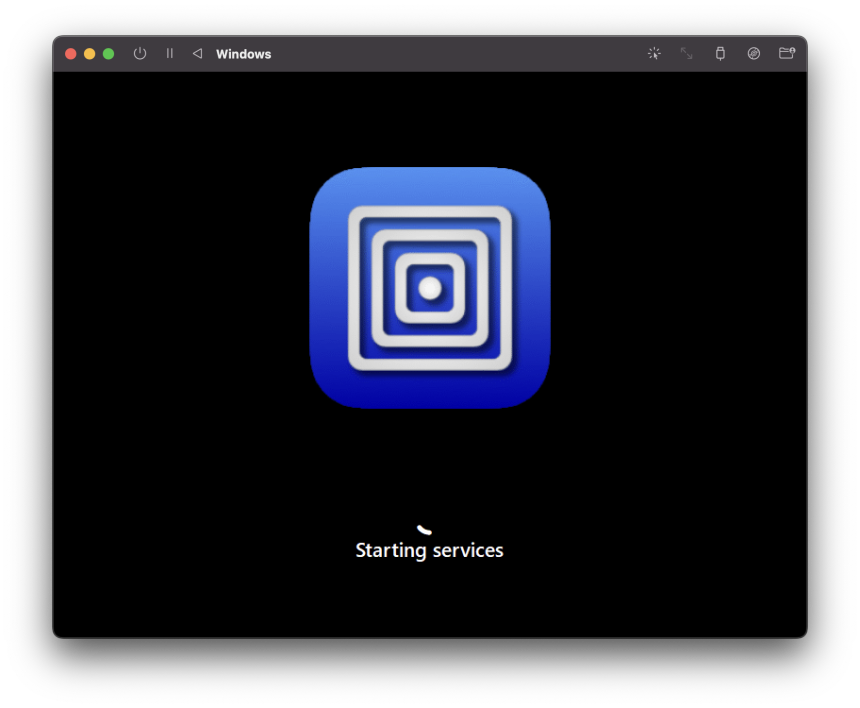
The virtual machine should start in a new window. Wait a few moments (sometimes more than a minute) for all the components needed for its operation to load.
9. Configure Windows
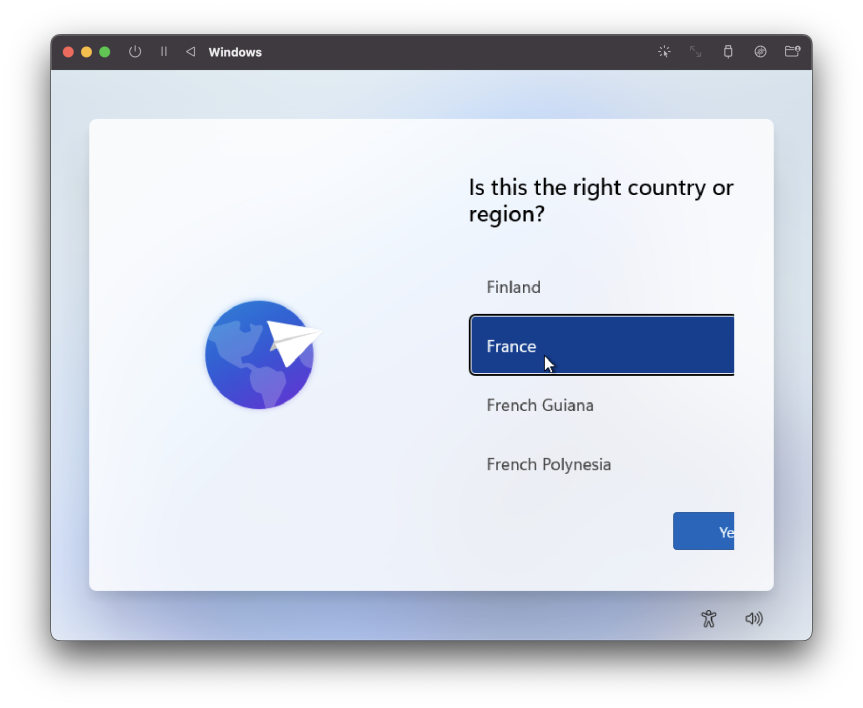
You should see the first screen of the Windows 11 setup wizard. Select your country and click YesChoose the keyboard layout you use (French) Then follow the instructions in the wizard and finish setting up Windows 11.
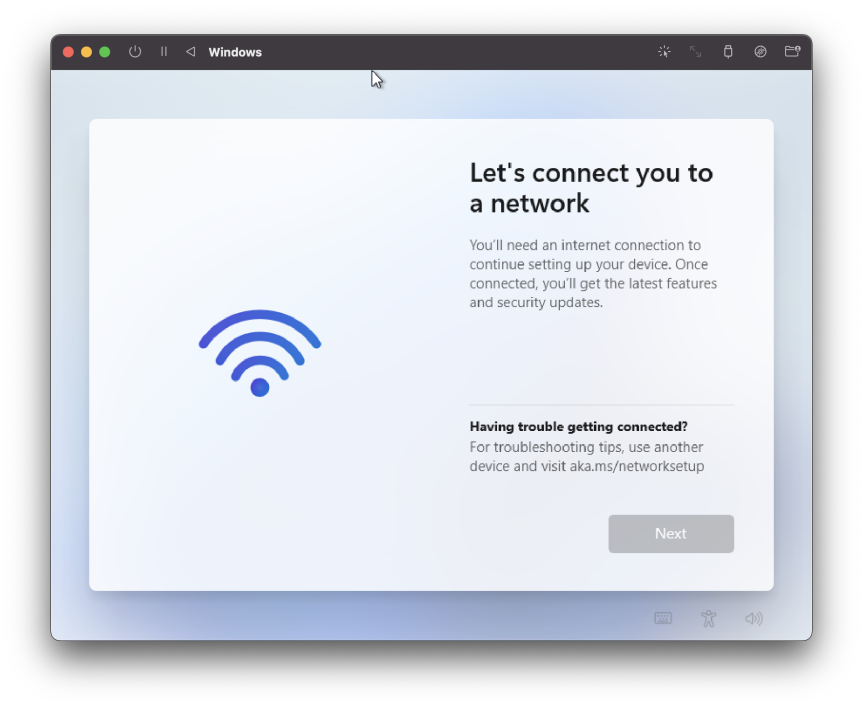
When connecting to the internet, you should be stuck with the next button hopelessly in gray. You need to have some drivers installed for the connection to work on the virtual machine.
Click the icon at the top right of the UTM window CDGo to the menu CDs / DVDsAnd then click Exchange.
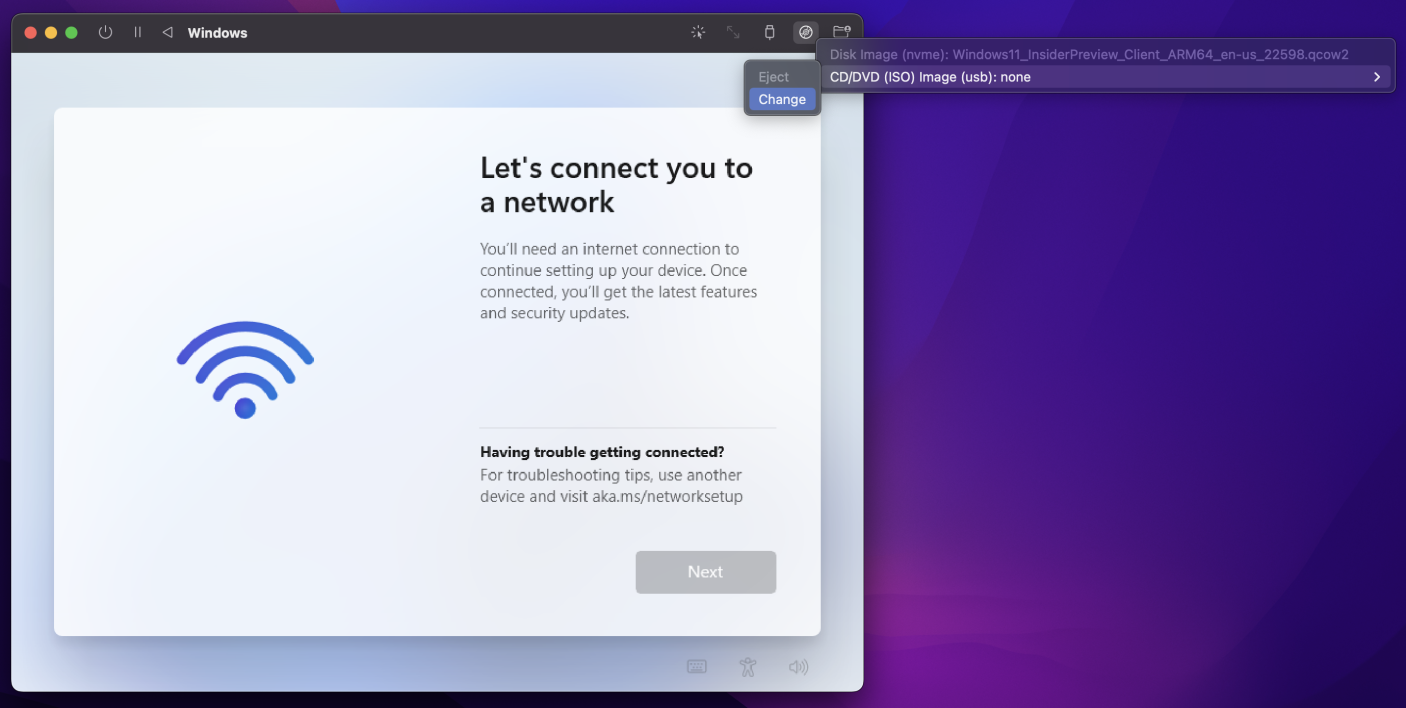
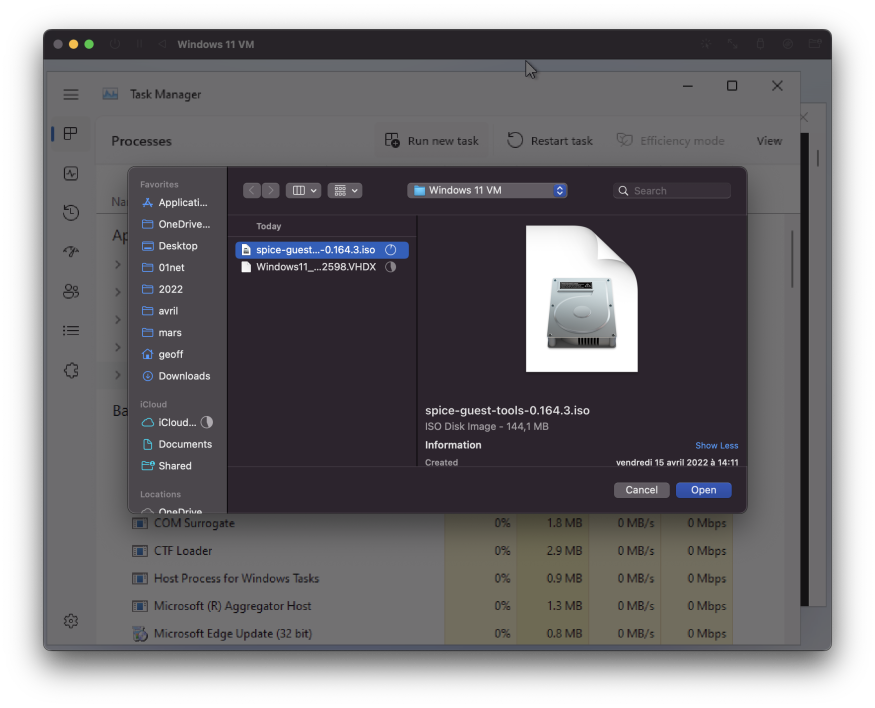
In the Finder Explorer window that opens, go to the directory created in step 4 and select the drivers file. Spice Guest-Tools- x.xxx.x.iso To load the disk image directly into the virtual machine.
10. Install drivers on Windows
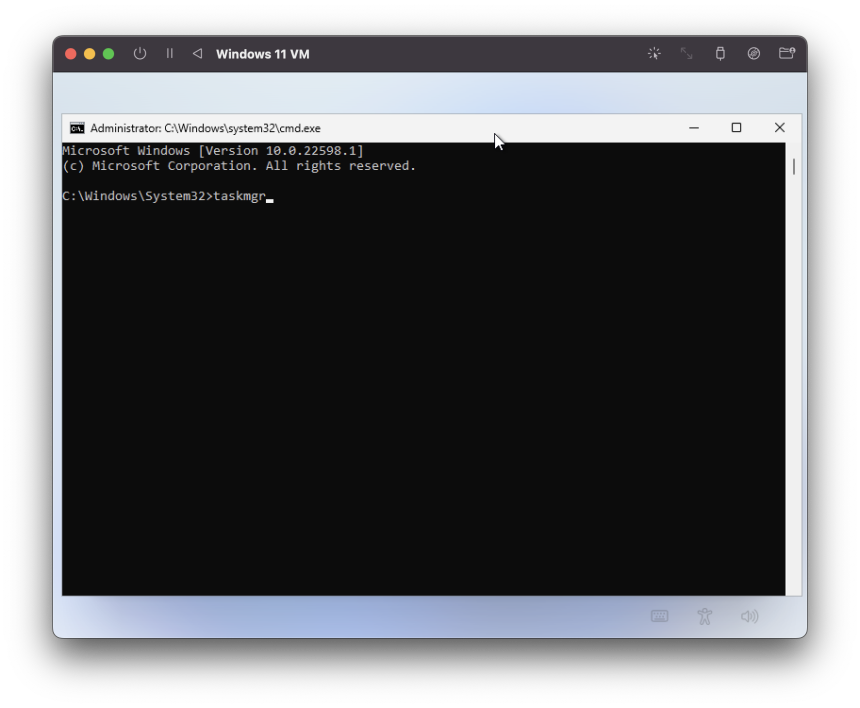
In the Windows installation window, press the Arrow keys simultaneously Shift + F10 On your keyboard (press and hold the key) fn If something else like F10 key media controls is used on your keyboard).
A window should open with a Windows command prompt. Then enter the command taskmgr And press Walk inside.
In the Windows Task Manager window that appears, right-click Windows Explorer (Windows File Explorer) and select Open File Rental.

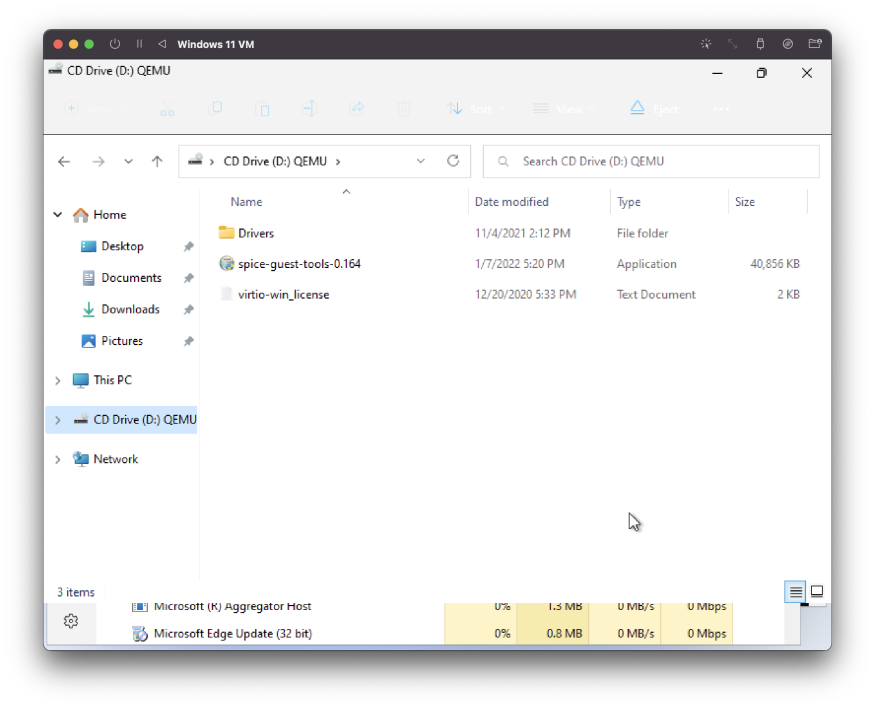
In the Windows Explorer window, click CD-drive In the left column. These are famous pilots SPICE Guest Tools You have previously loaded on VM.
Then double-click on the file Spice-Guest-Tools Run it.
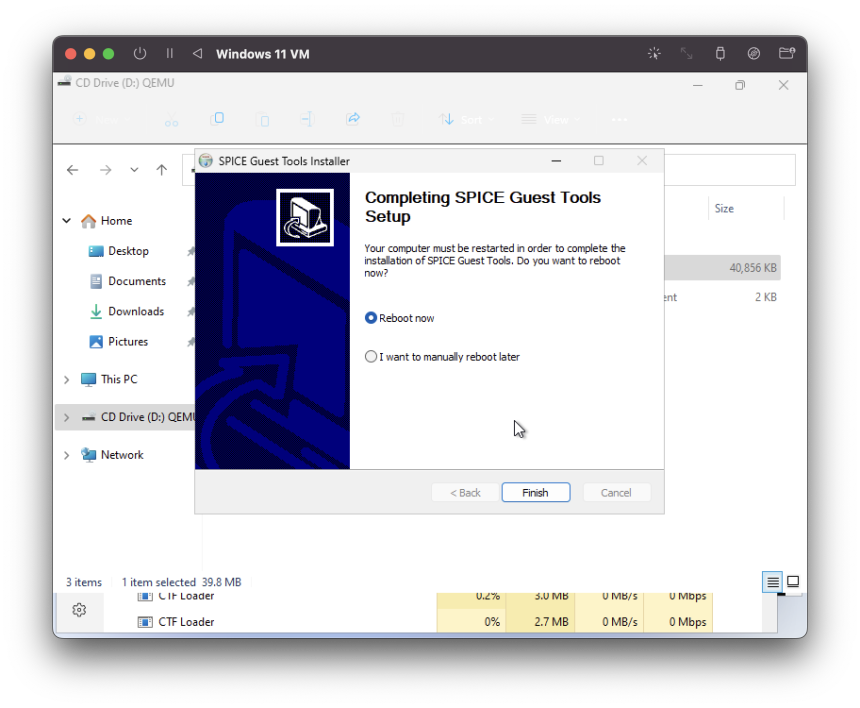
And then click Yes In the pop-up alert that appears, follow the instructions in the installation wizard to install the drivers.
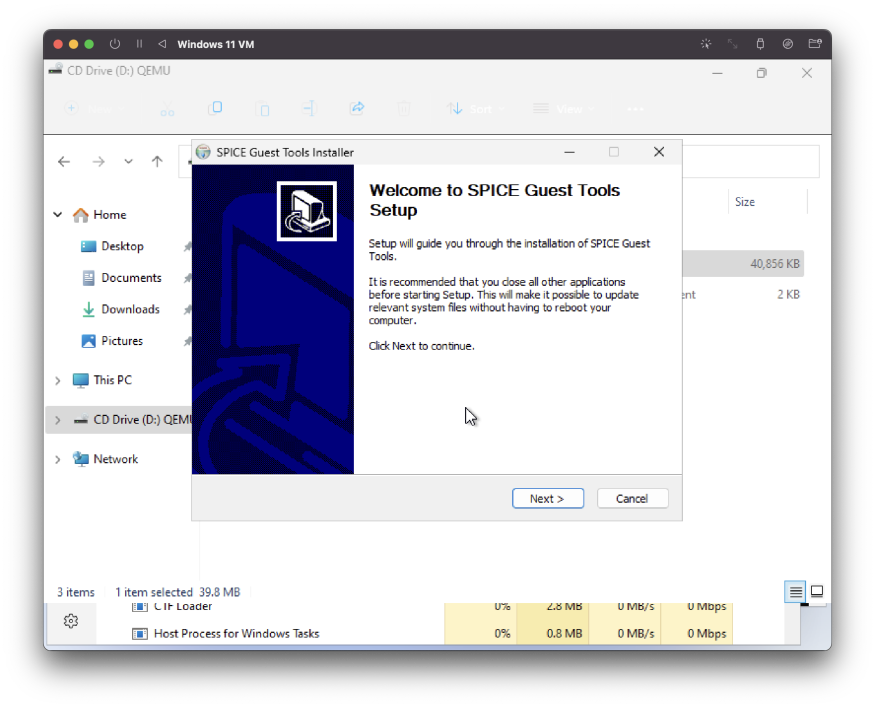
Once the drivers are installed, the installation wizard prompts you to restart Windows and selects the default Restart now. Click Finish. The Windows 11 virtual machine must be restarted.
11. Complete the Windows installation
Now that your Windows 11 virtual machine has restarted, you will be faced with various OS configuration screens again. Then select your country and click on select your keyboard layout Avoid Avoid adding another keyboard layout.
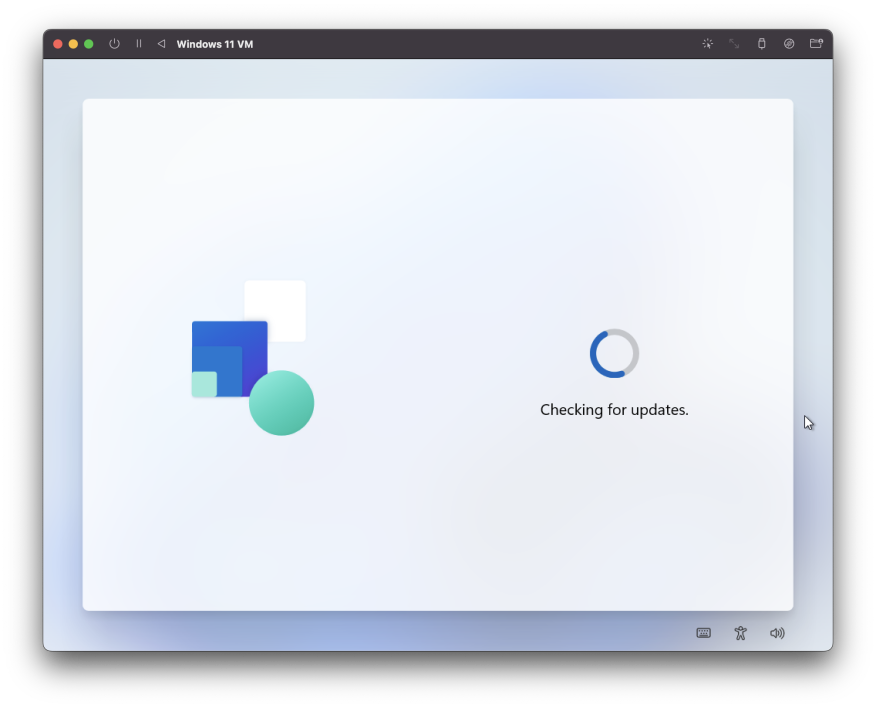
The next step regarding connecting to the internet should no longer be a problem. A message Checking for updates Let the Windows 11 Setup Wizard pop up and continue.
Follow all the system configuration steps by following the guide: Accept the license agreement and give your computer a name.
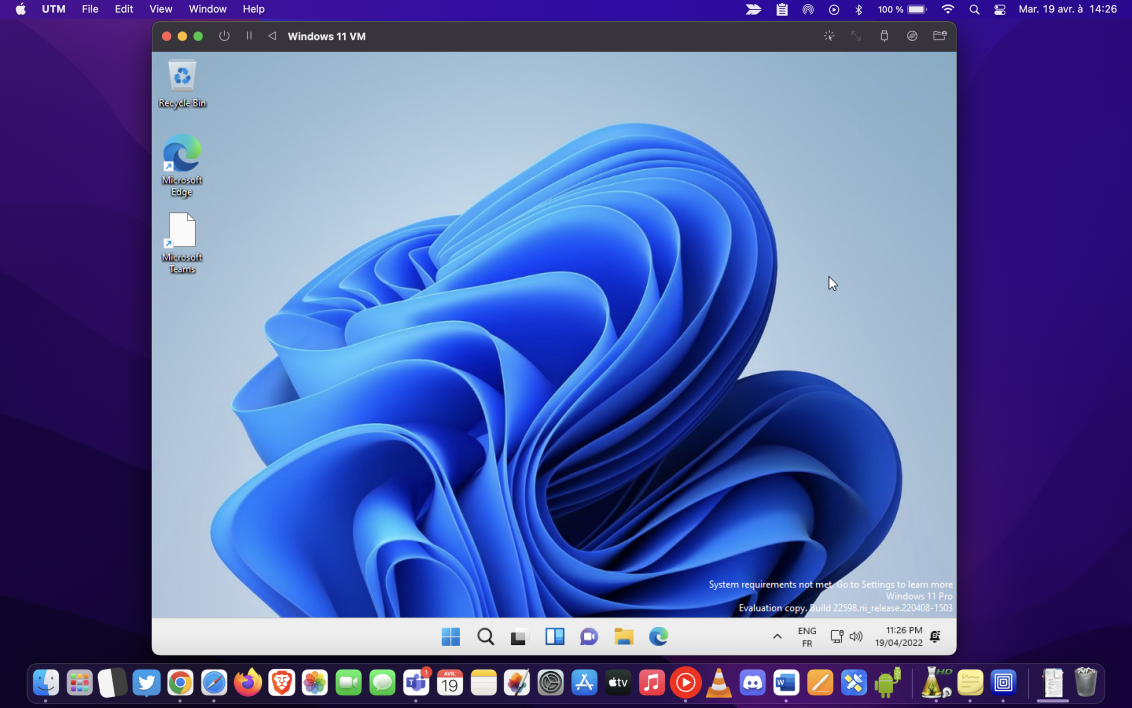
Windows 11 will restart. Complete the various steps to configure the operating system installation. Windows 11 must finally boot from your Mac M1 to your virtual machine.

Beatrice Ashford is a contributor at Nintendo-power.com, covering a wide range of topics including news, politics, business, technology, sport, entertainment, and lifestyle. She focuses on delivering clear, balanced reporting and useful information that helps readers stay informed about current events and emerging developments. Her work highlights stories that matter to everyday audiences, with an emphasis on accuracy, relevance, and accessible journalism that keeps readers connected to the issues shaping the world around them.